BRAND BRIEF
Professional and Powerful, our products are at home in the domestic and restaurant kitchen. They are built to outlast and outperform and are completely serviceable by our technicians.
When designing a Professional Blender, there are several key features to consider, including the size and capacity of a blender, the durability of the blades, and the ease of cleaning. Some blenders include additional features like pre- programmed settings for specific tasks like making smoothies or crushing ice.
INNOVATIONS
MAGNETIC BASE
Clipping and unclipping the blender from its base takes some time.
Adding a magnetic base to the blender would save some time and make it easier for use in professional settings
2. SELF CLEANING MECHANISMS
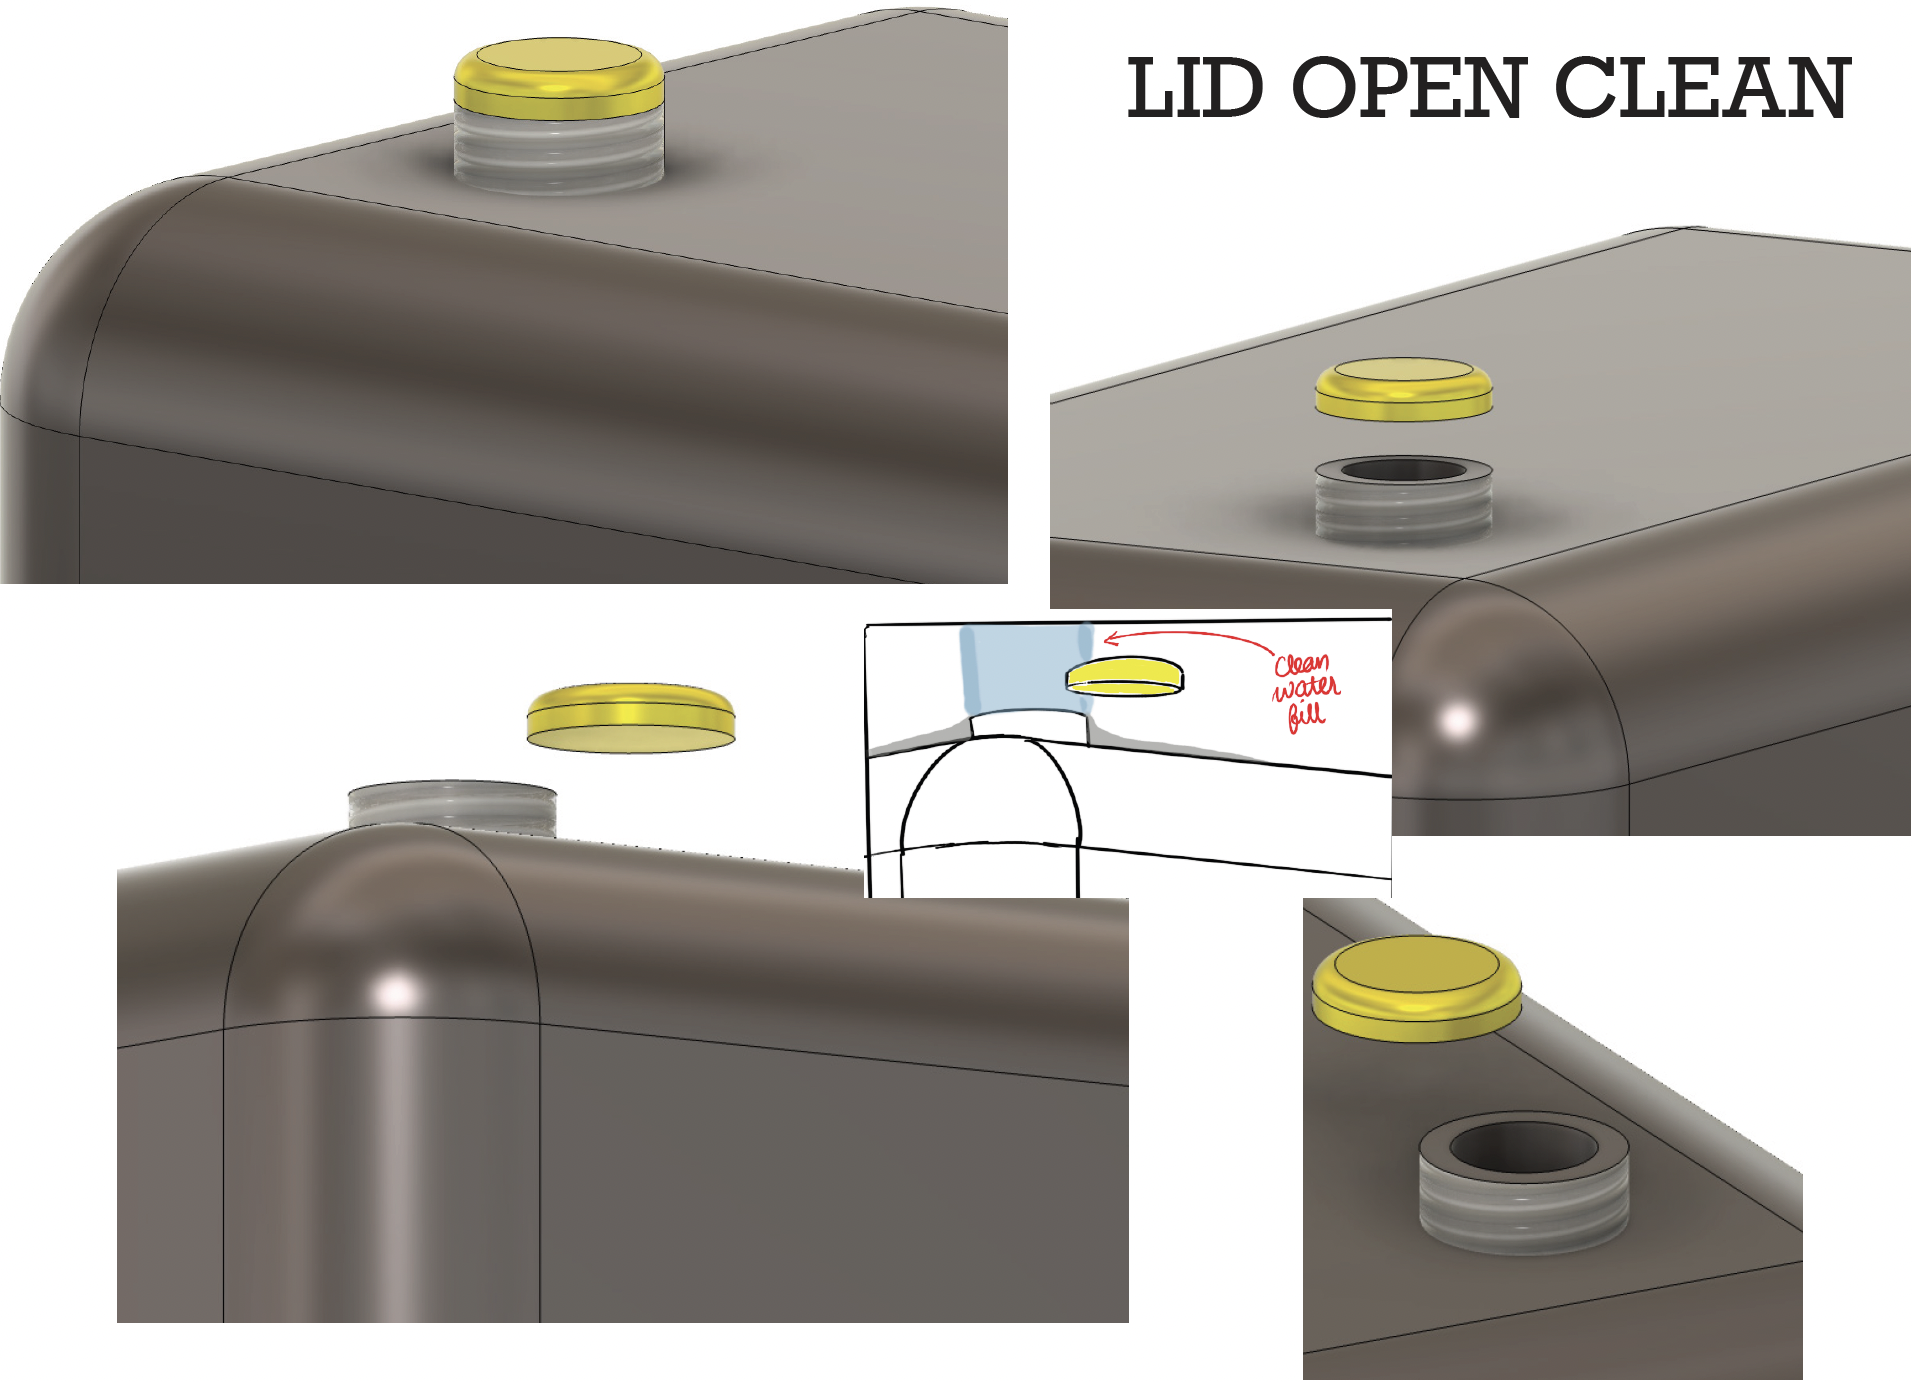
The blender features a built-in self-cleaning mechanism designed to automatically rinse the blender after each use, catering to the requirements of a professional restaurant setting where safety and allergen concerns are paramount. Consider, for instance, the potential issues for individuals with dietary restrictions, such as vegans or those with lactose intolerance, who may encounter problems if traces of full cream milk remain in the blender. To address this, the self-cleaning mechanism ensures thorough rinsing after every use, eliminating the need to detach the blender from its base and saving valuable time.
This innovative mechanism can facilitate up to five consecutive rinses before requiring removal. When it reaches this limit, users need to refill clean water and empty the used water. The system employs a subversive pump that operates against gravity, facilitating water movement through the pipes. The water travels from the clean section up the pipe to the lid, where it is dispersed into the blender. Once the rinsing process is complete, the water exits the blender through a separate pipe leading to the dirty water section.
TOP LID OPEN- To add clean water
BOTTOM LID OPEN- To remove dirty water
KEYSHOT RENDERS


BRAND BRIEF
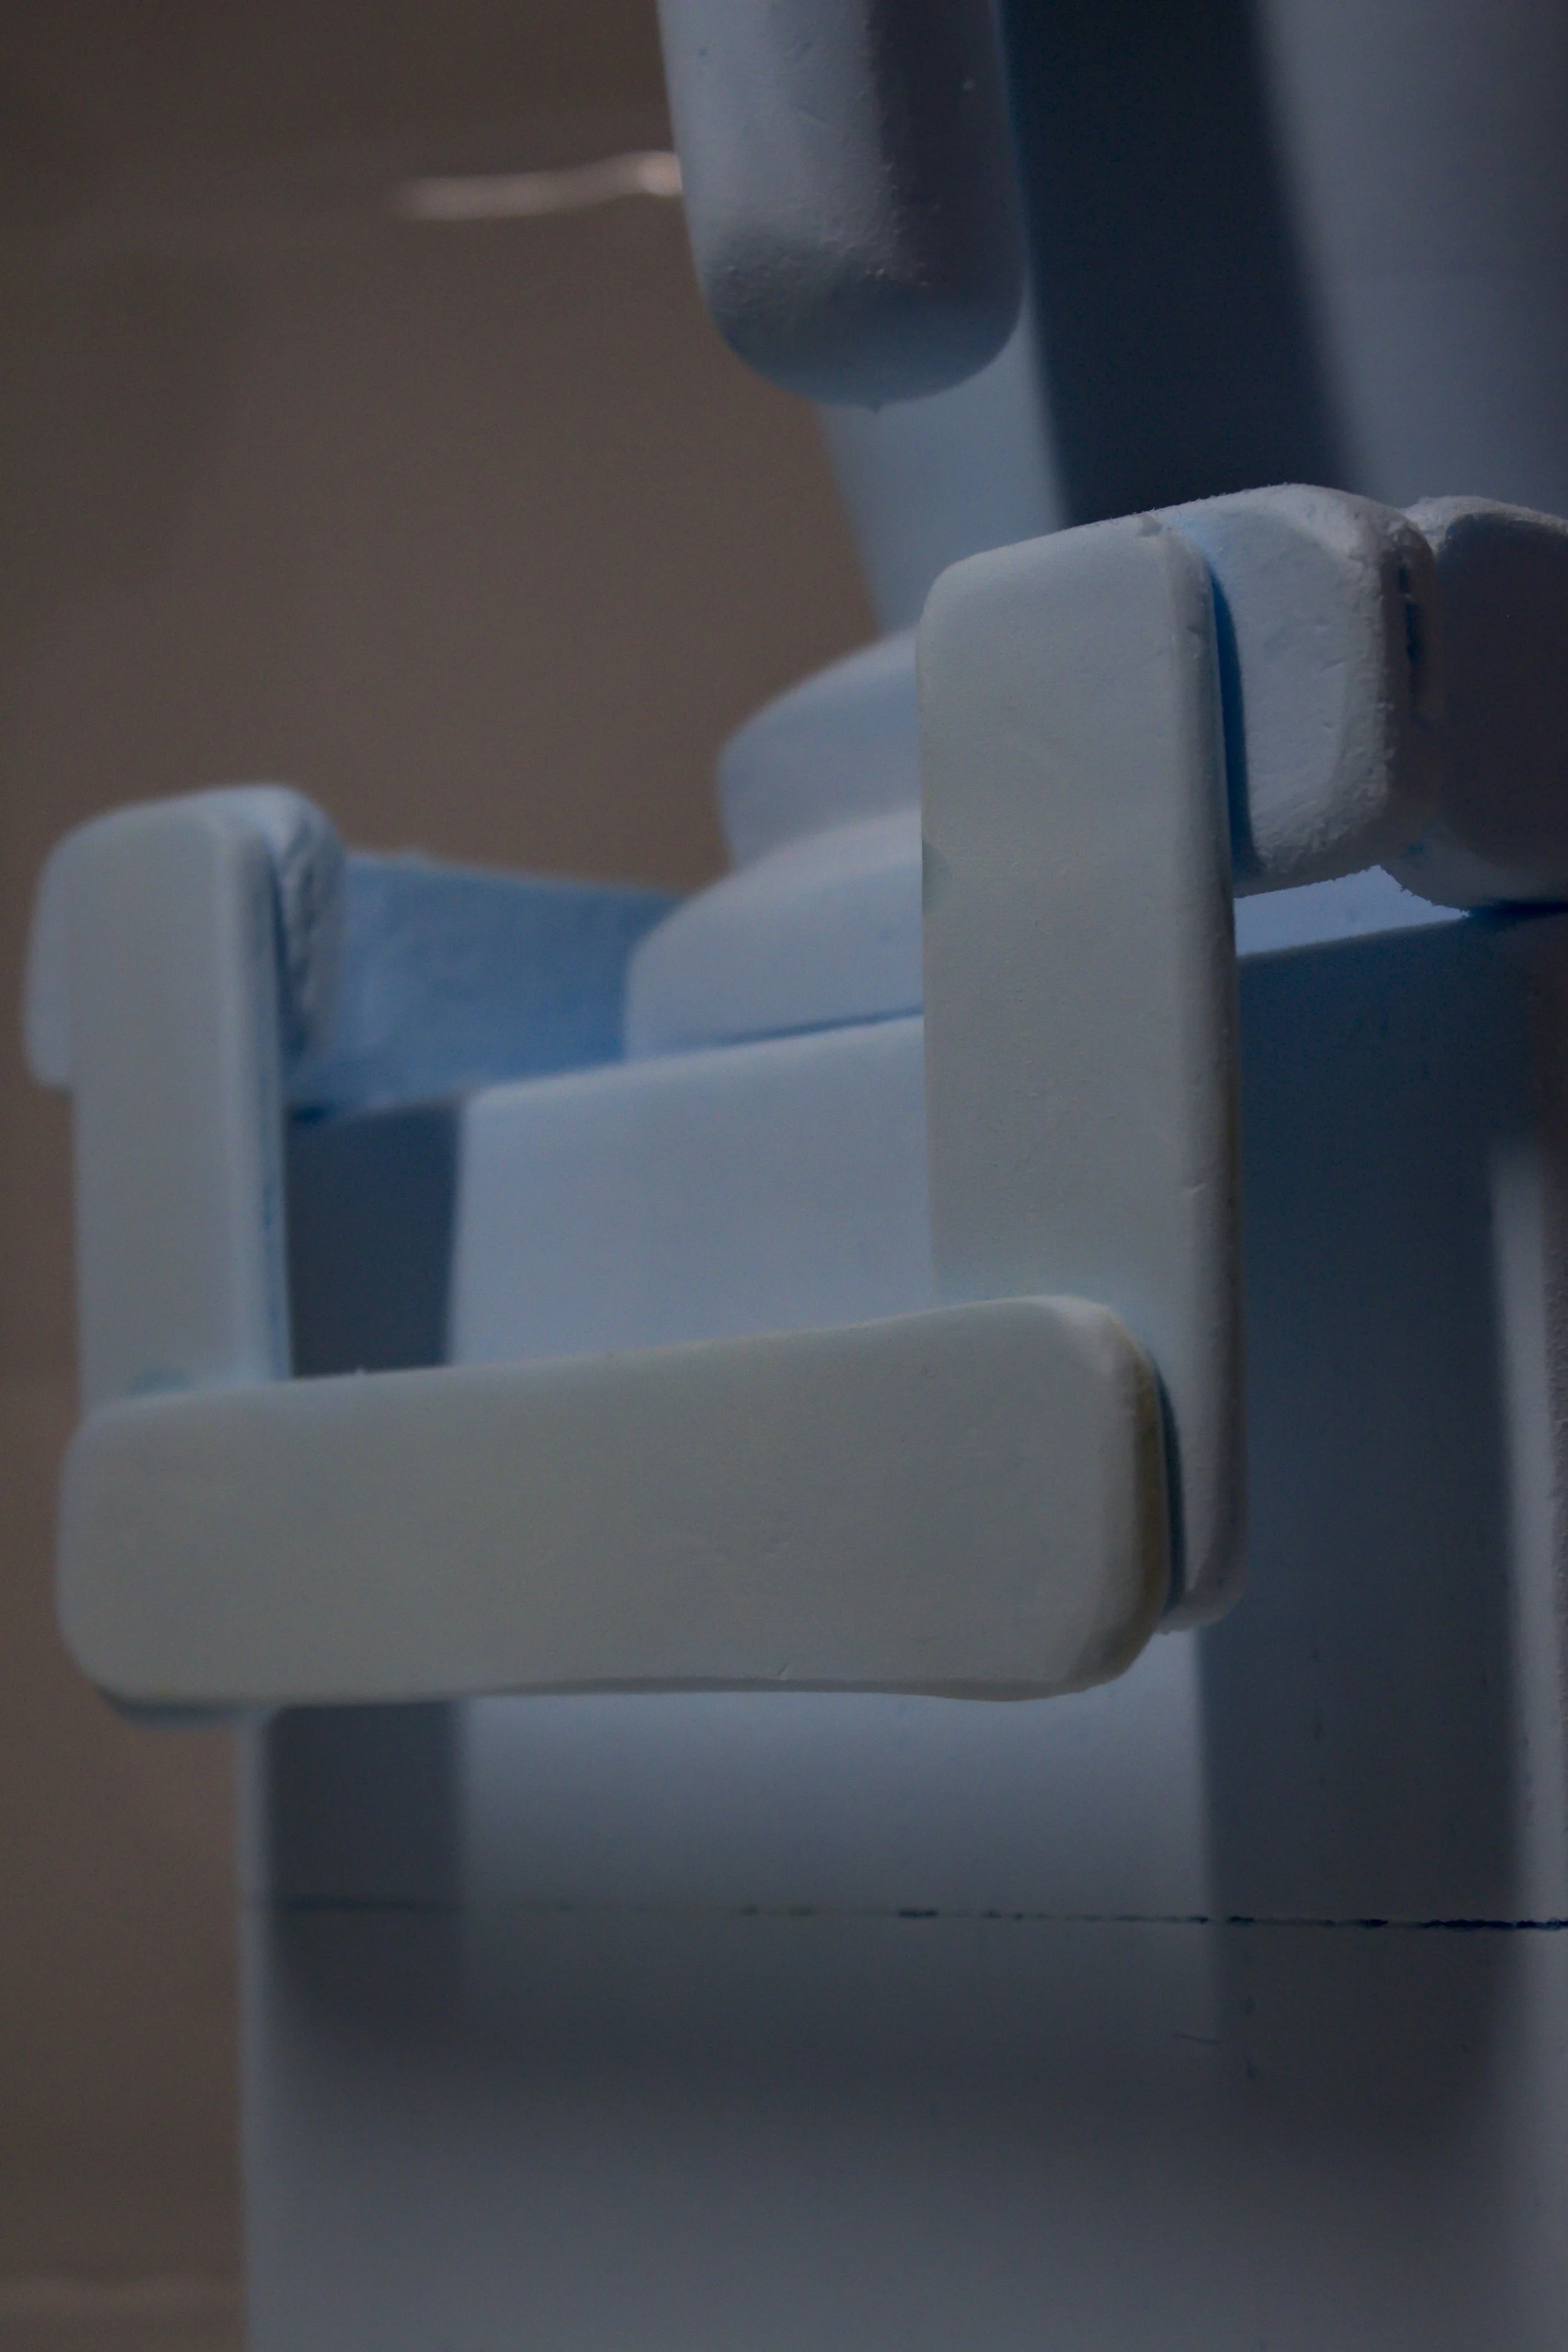
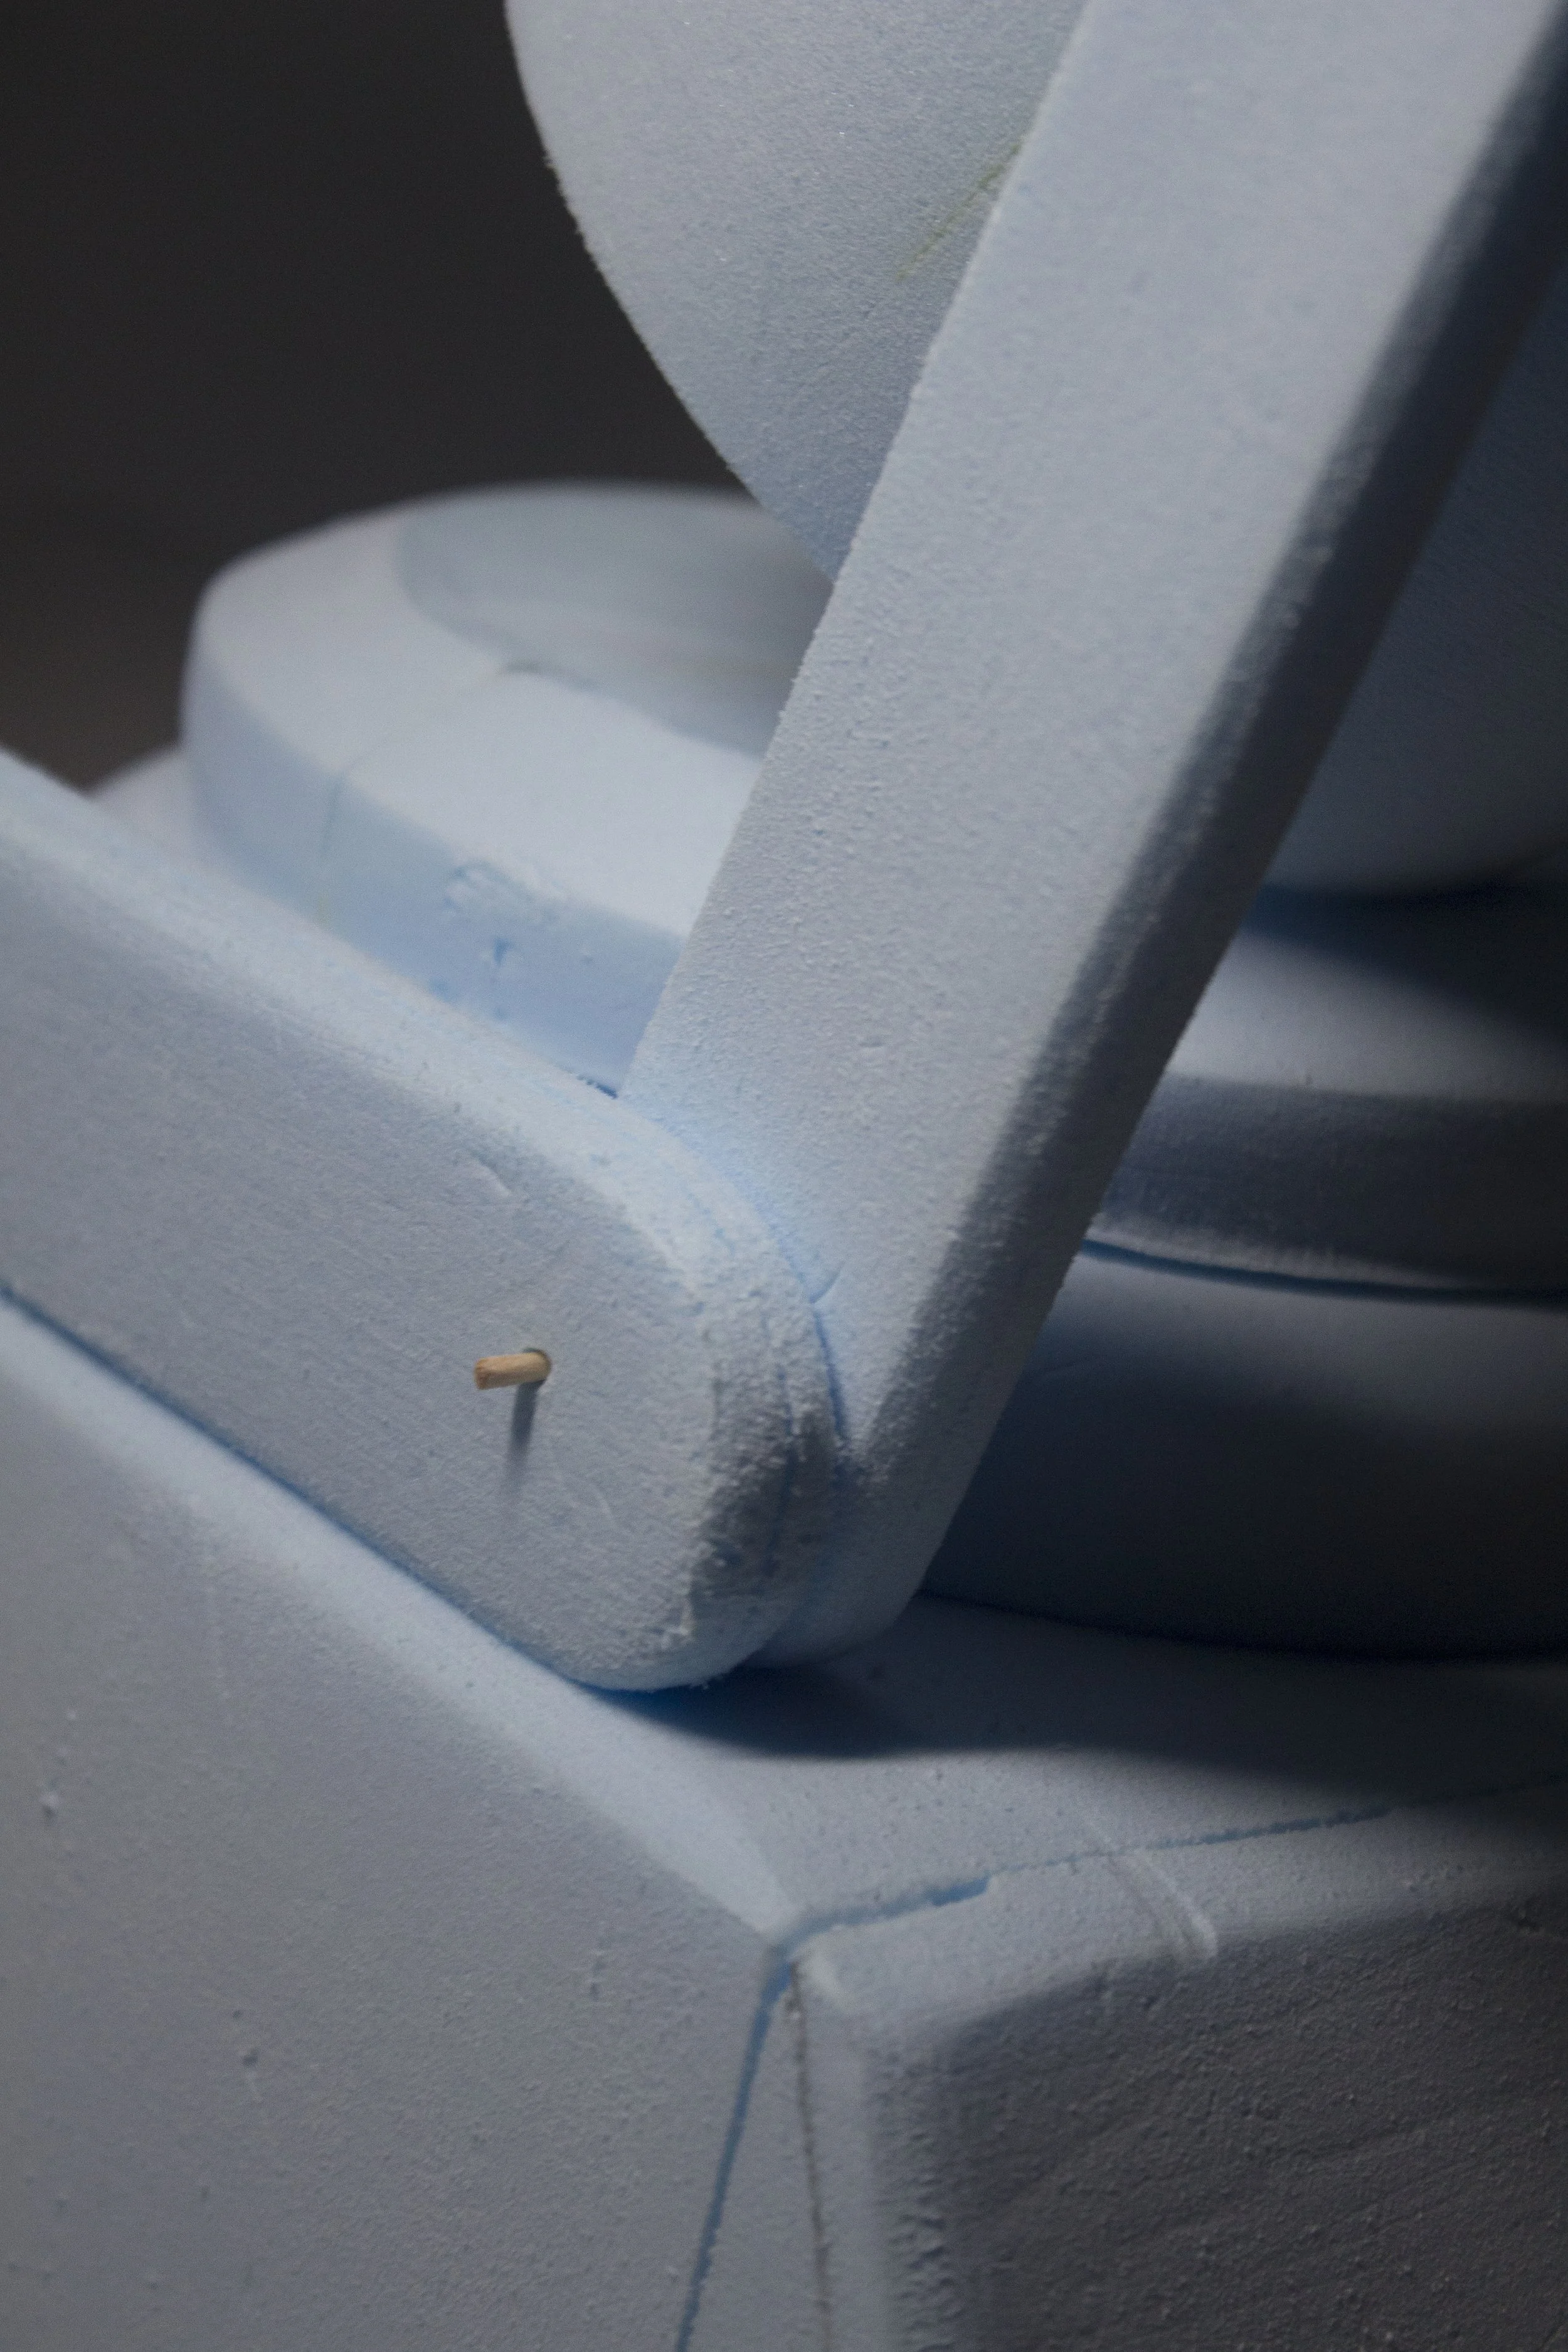
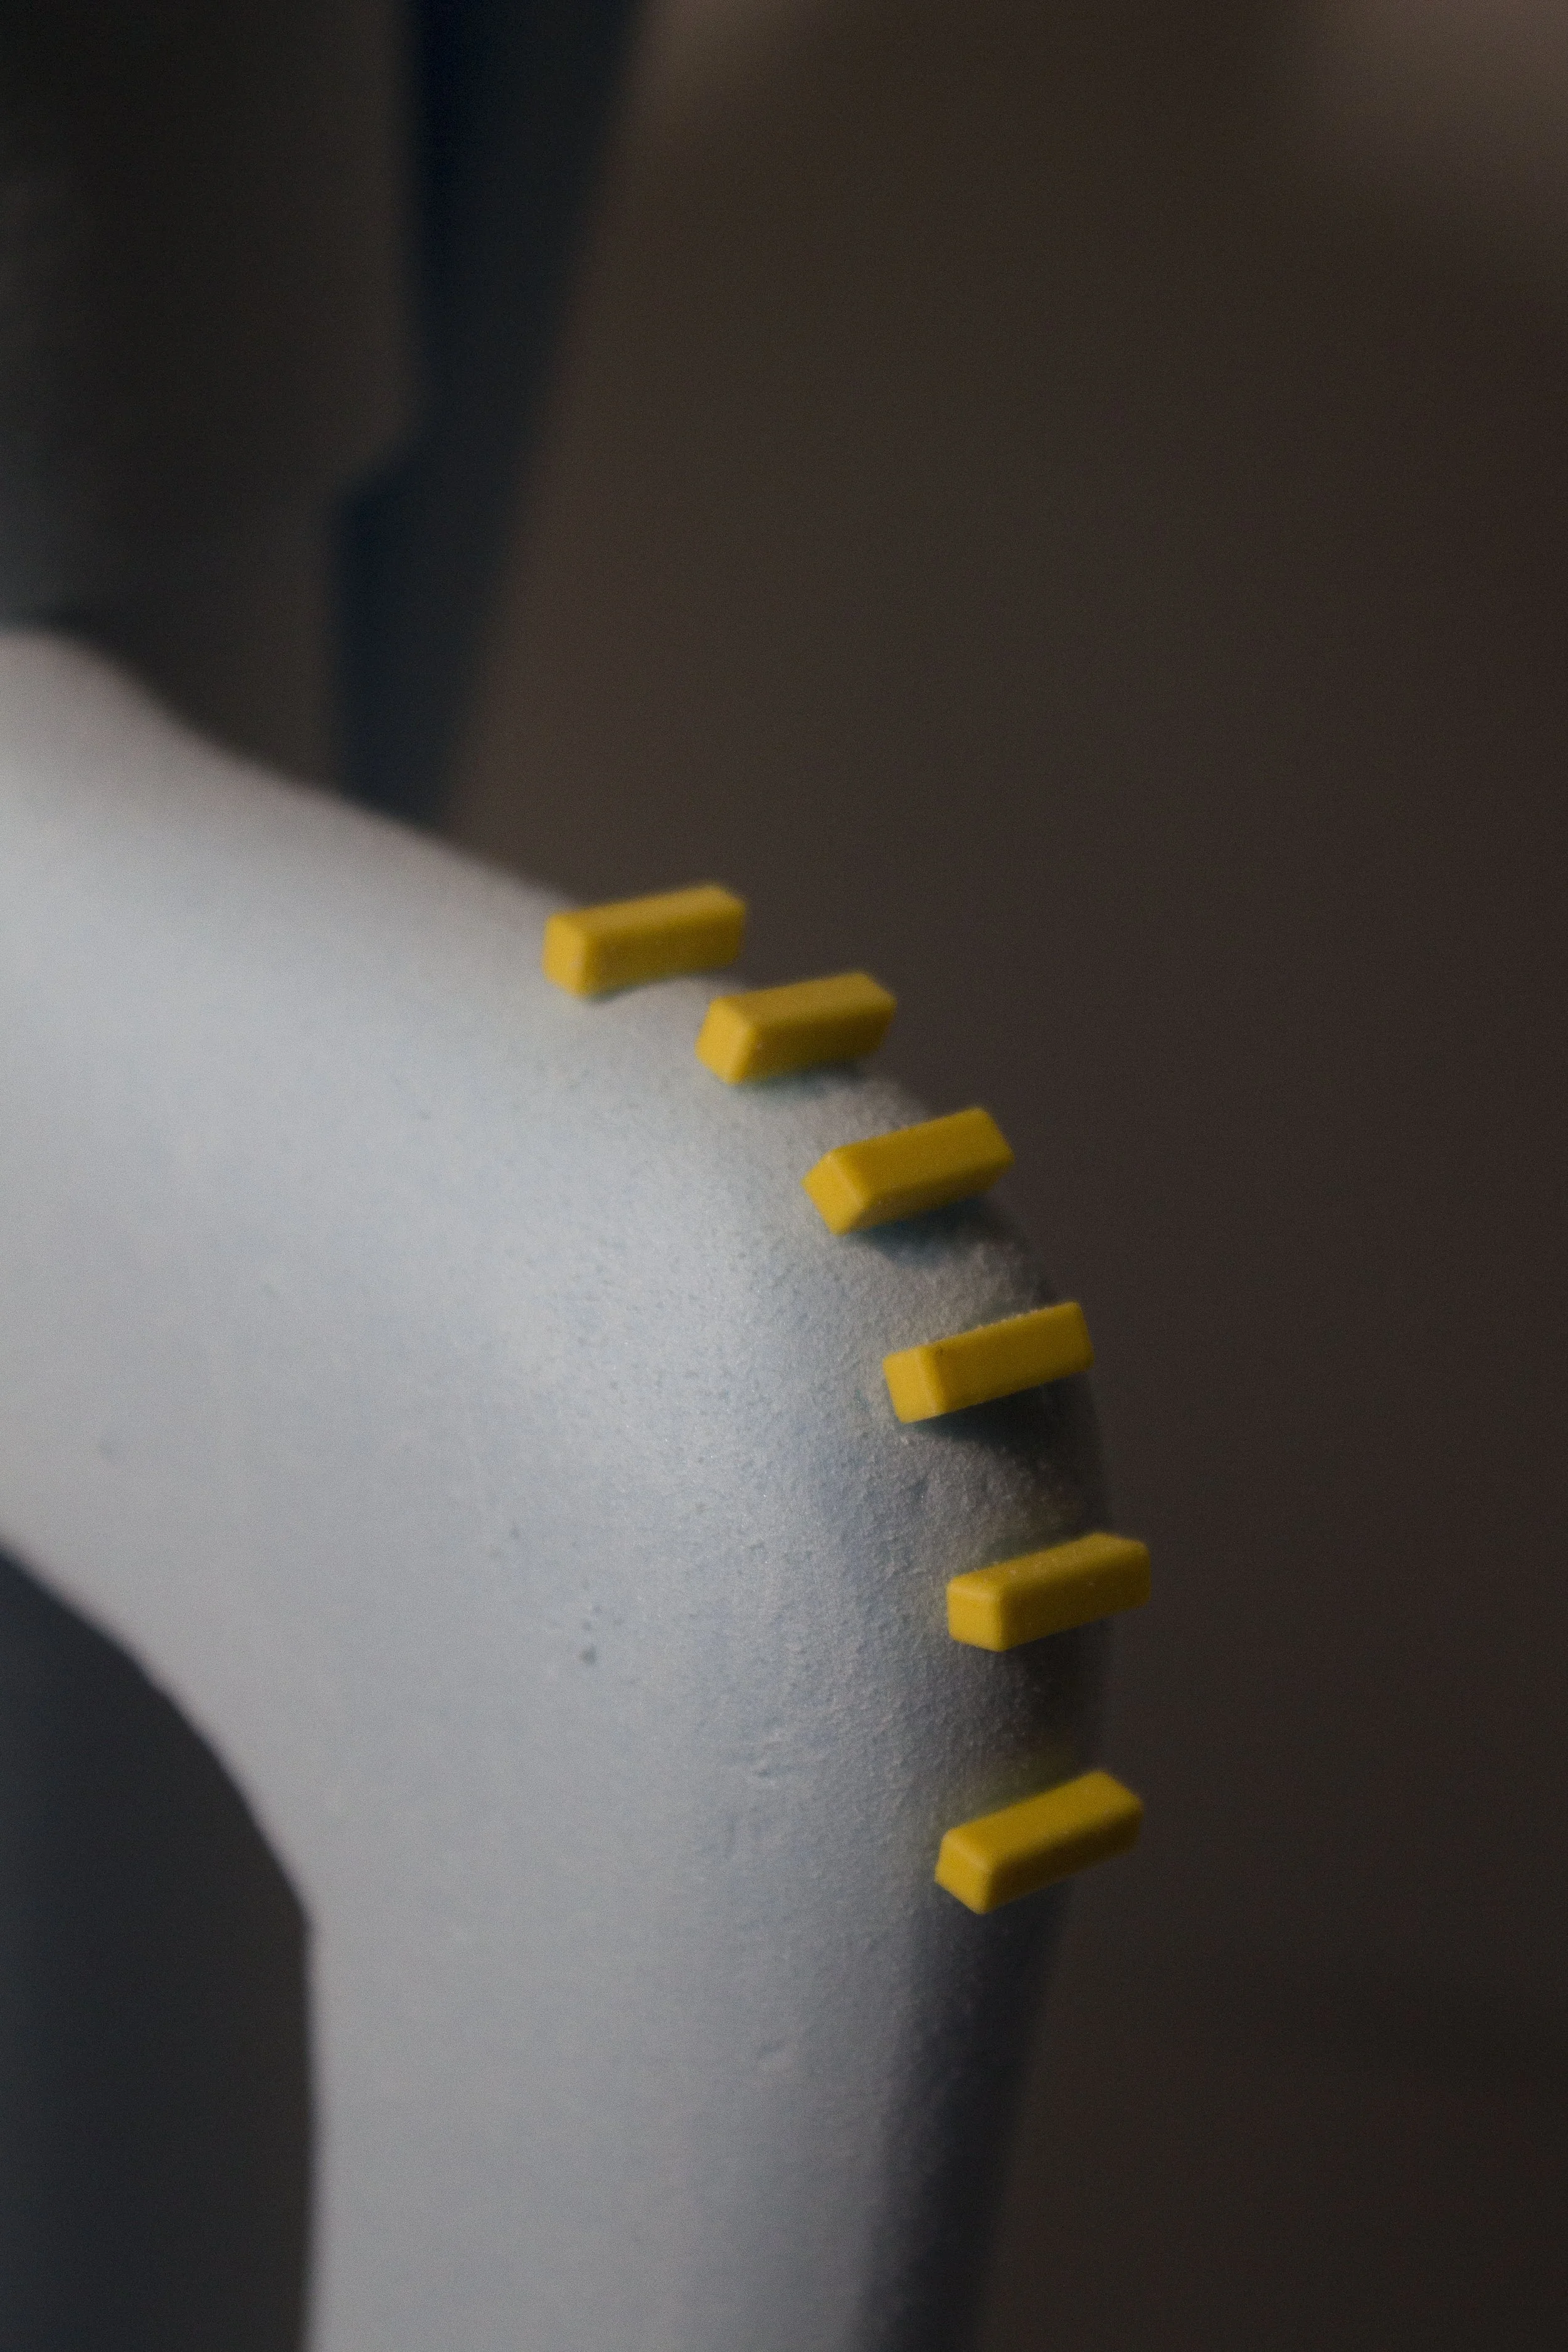
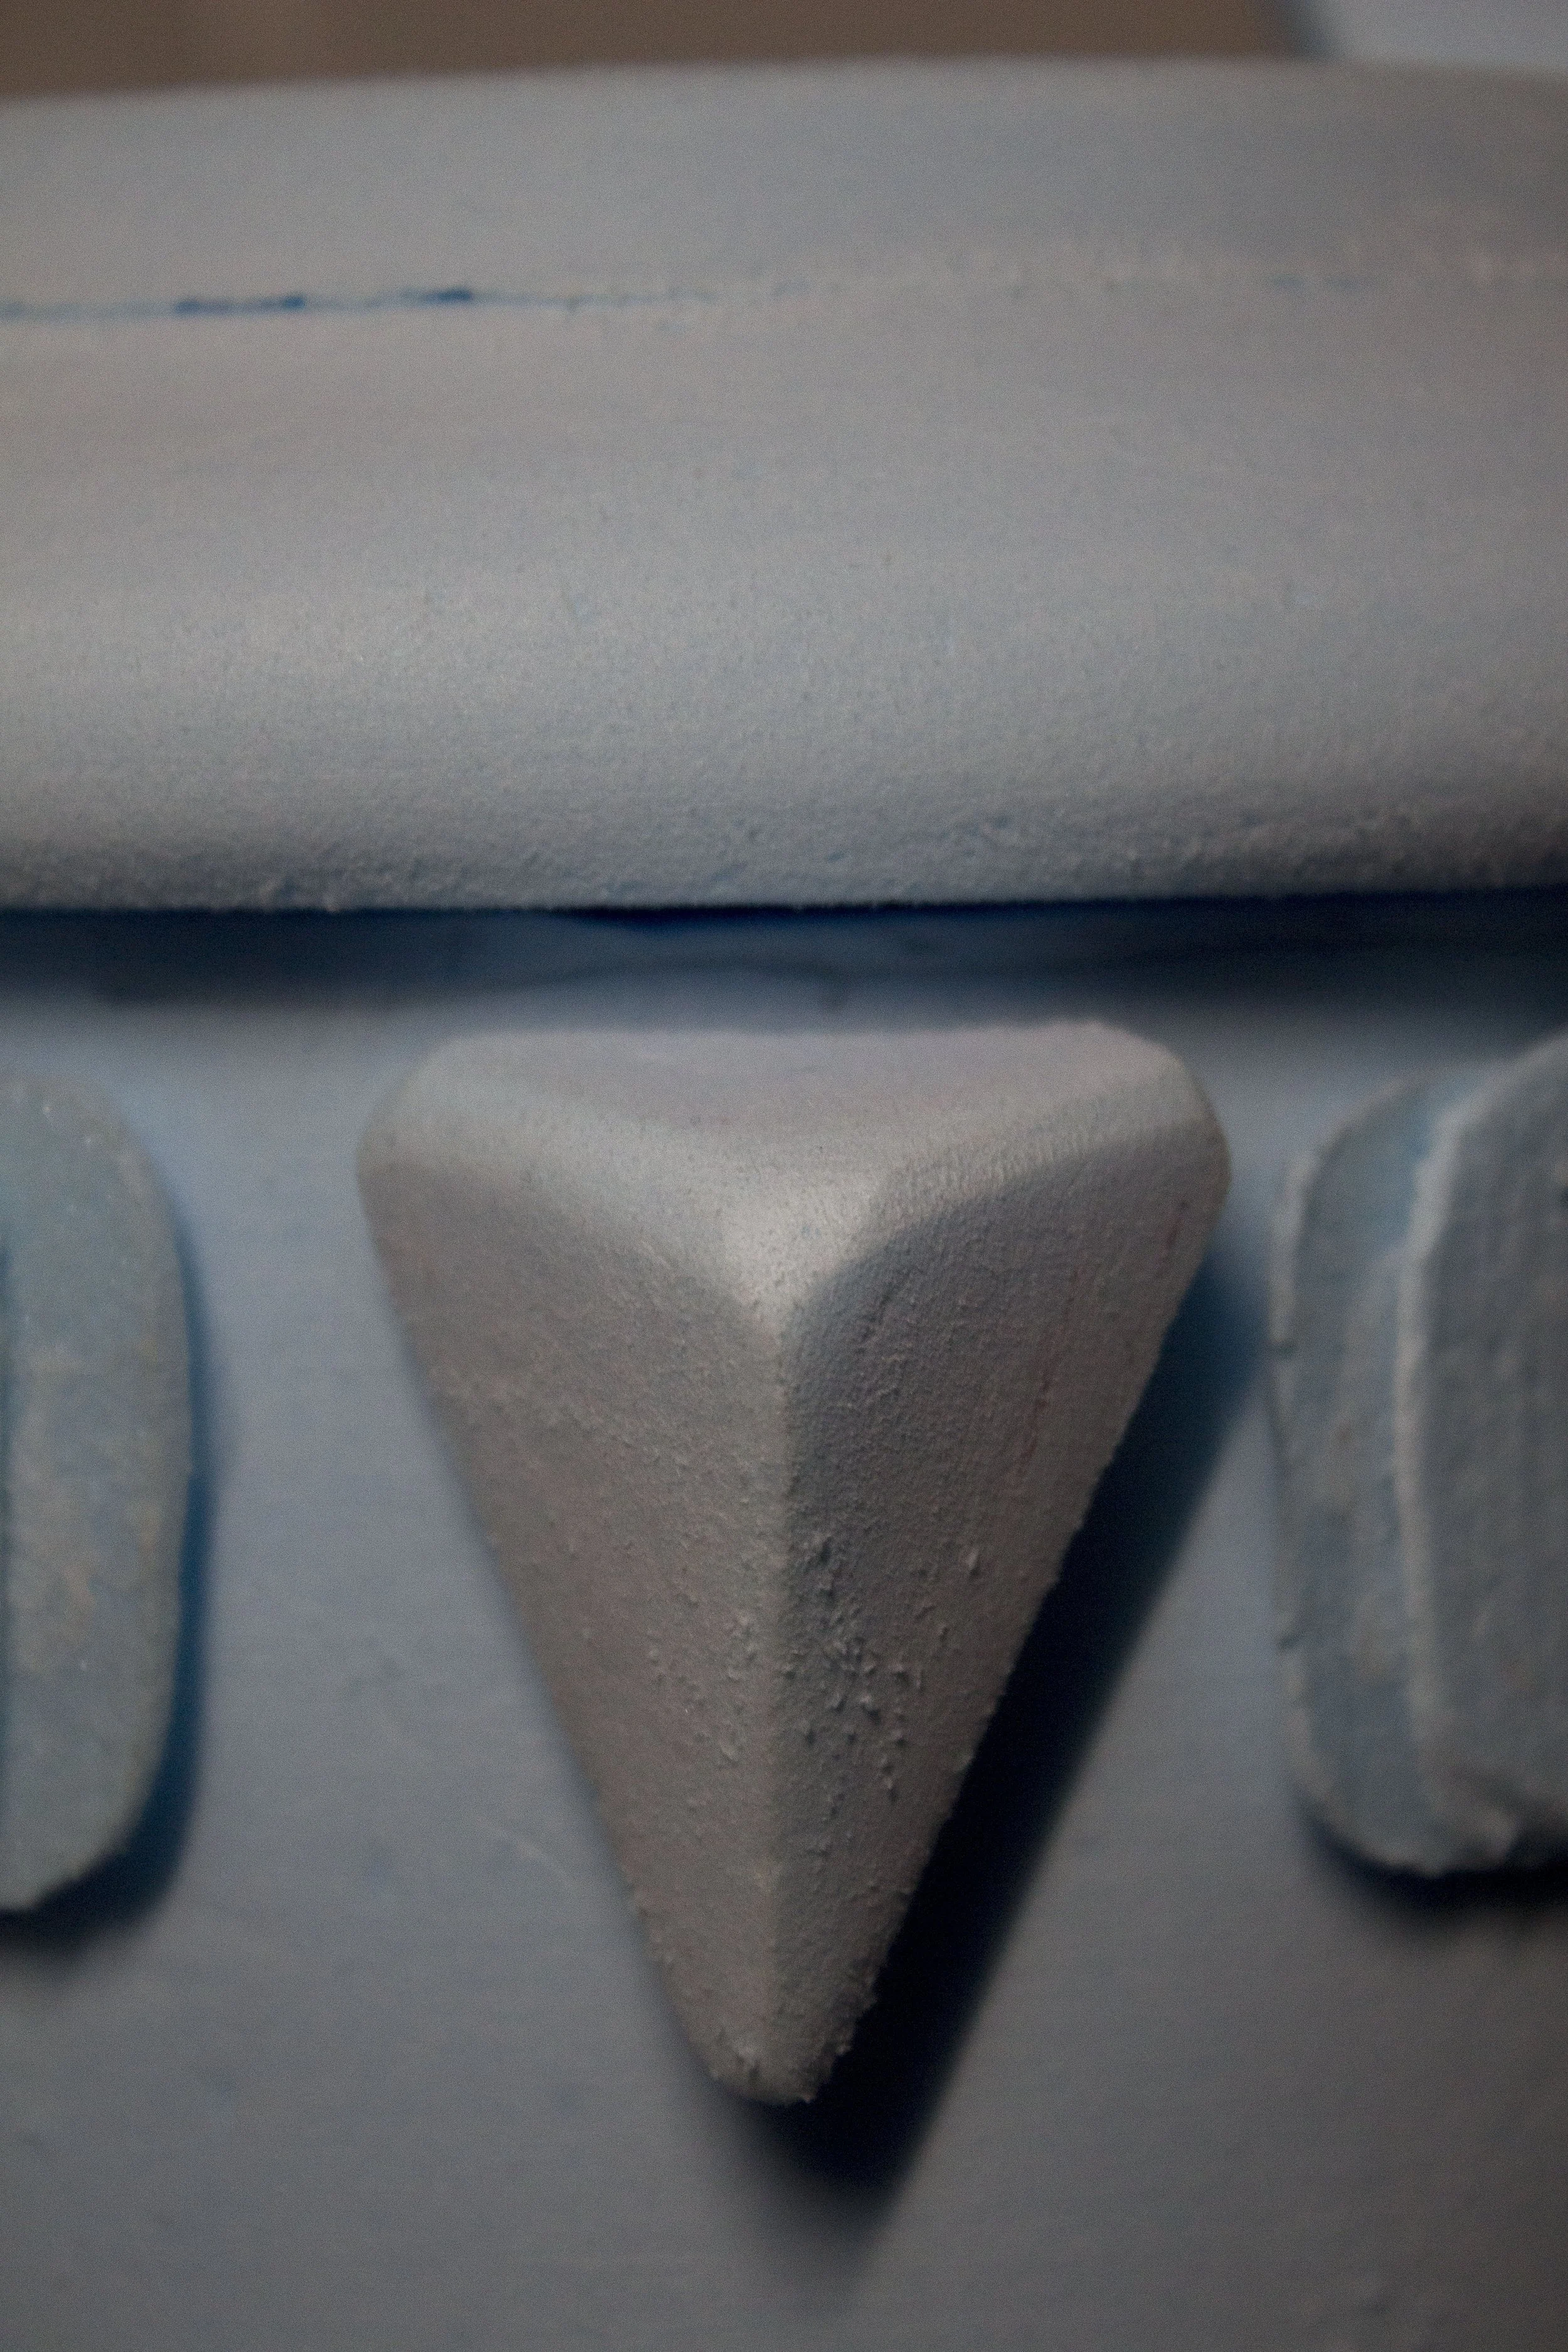
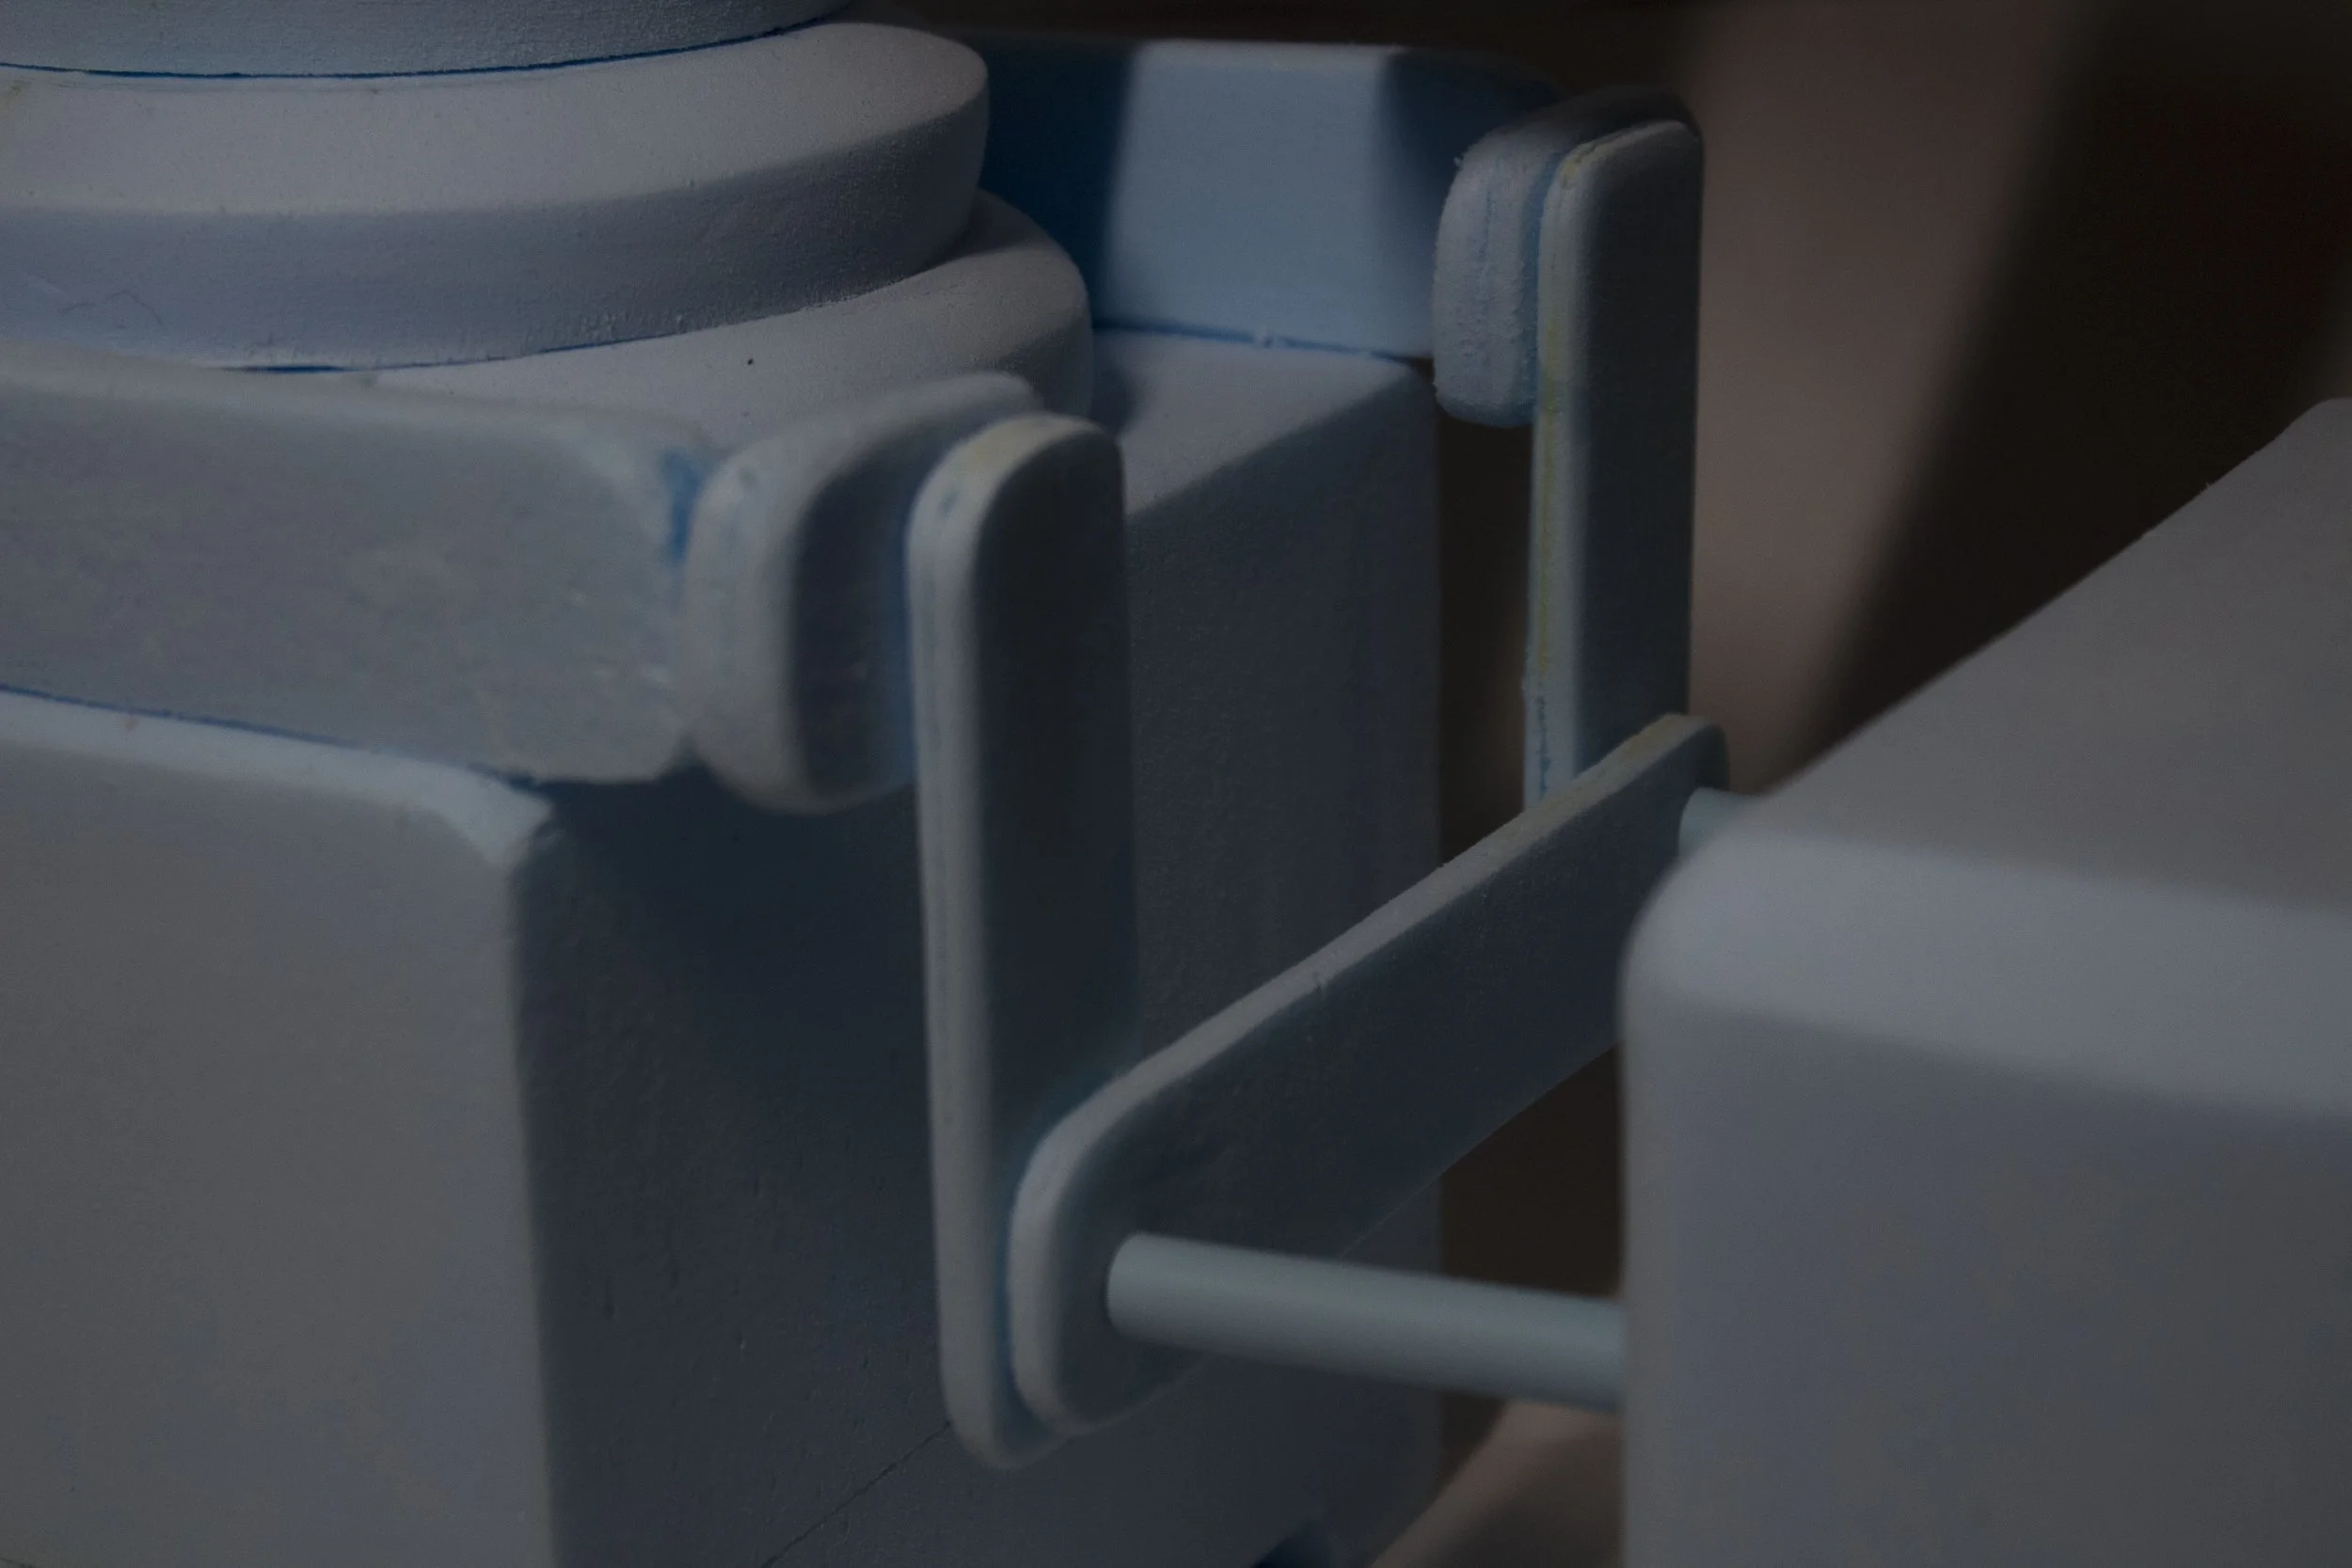
In crafting my blender, I meticulously utilised a variety of tools to bring my vision to life. Starting with careful planning and design considerations, I used the band saw and lathe to shape the main body of the blender from a block of foam, ensuring precision and smooth edges. The lathe played a crucial role in crafting cylindrical components, adding rotational symmetry and a polished finish to elements like the blender's body. 3D Printing was used in creating precise holes for switches and buttons while the disk sanders refined the foam's surface texture for a professional touch. The assembly phase seamlessly integrated metal components into the foam structure, and meticulous finishing touches were applied through additional hand sanding to ensure a flawless and visually appealing final product.
STORYBOARD
1. Open the Lid
2. Select the Presets
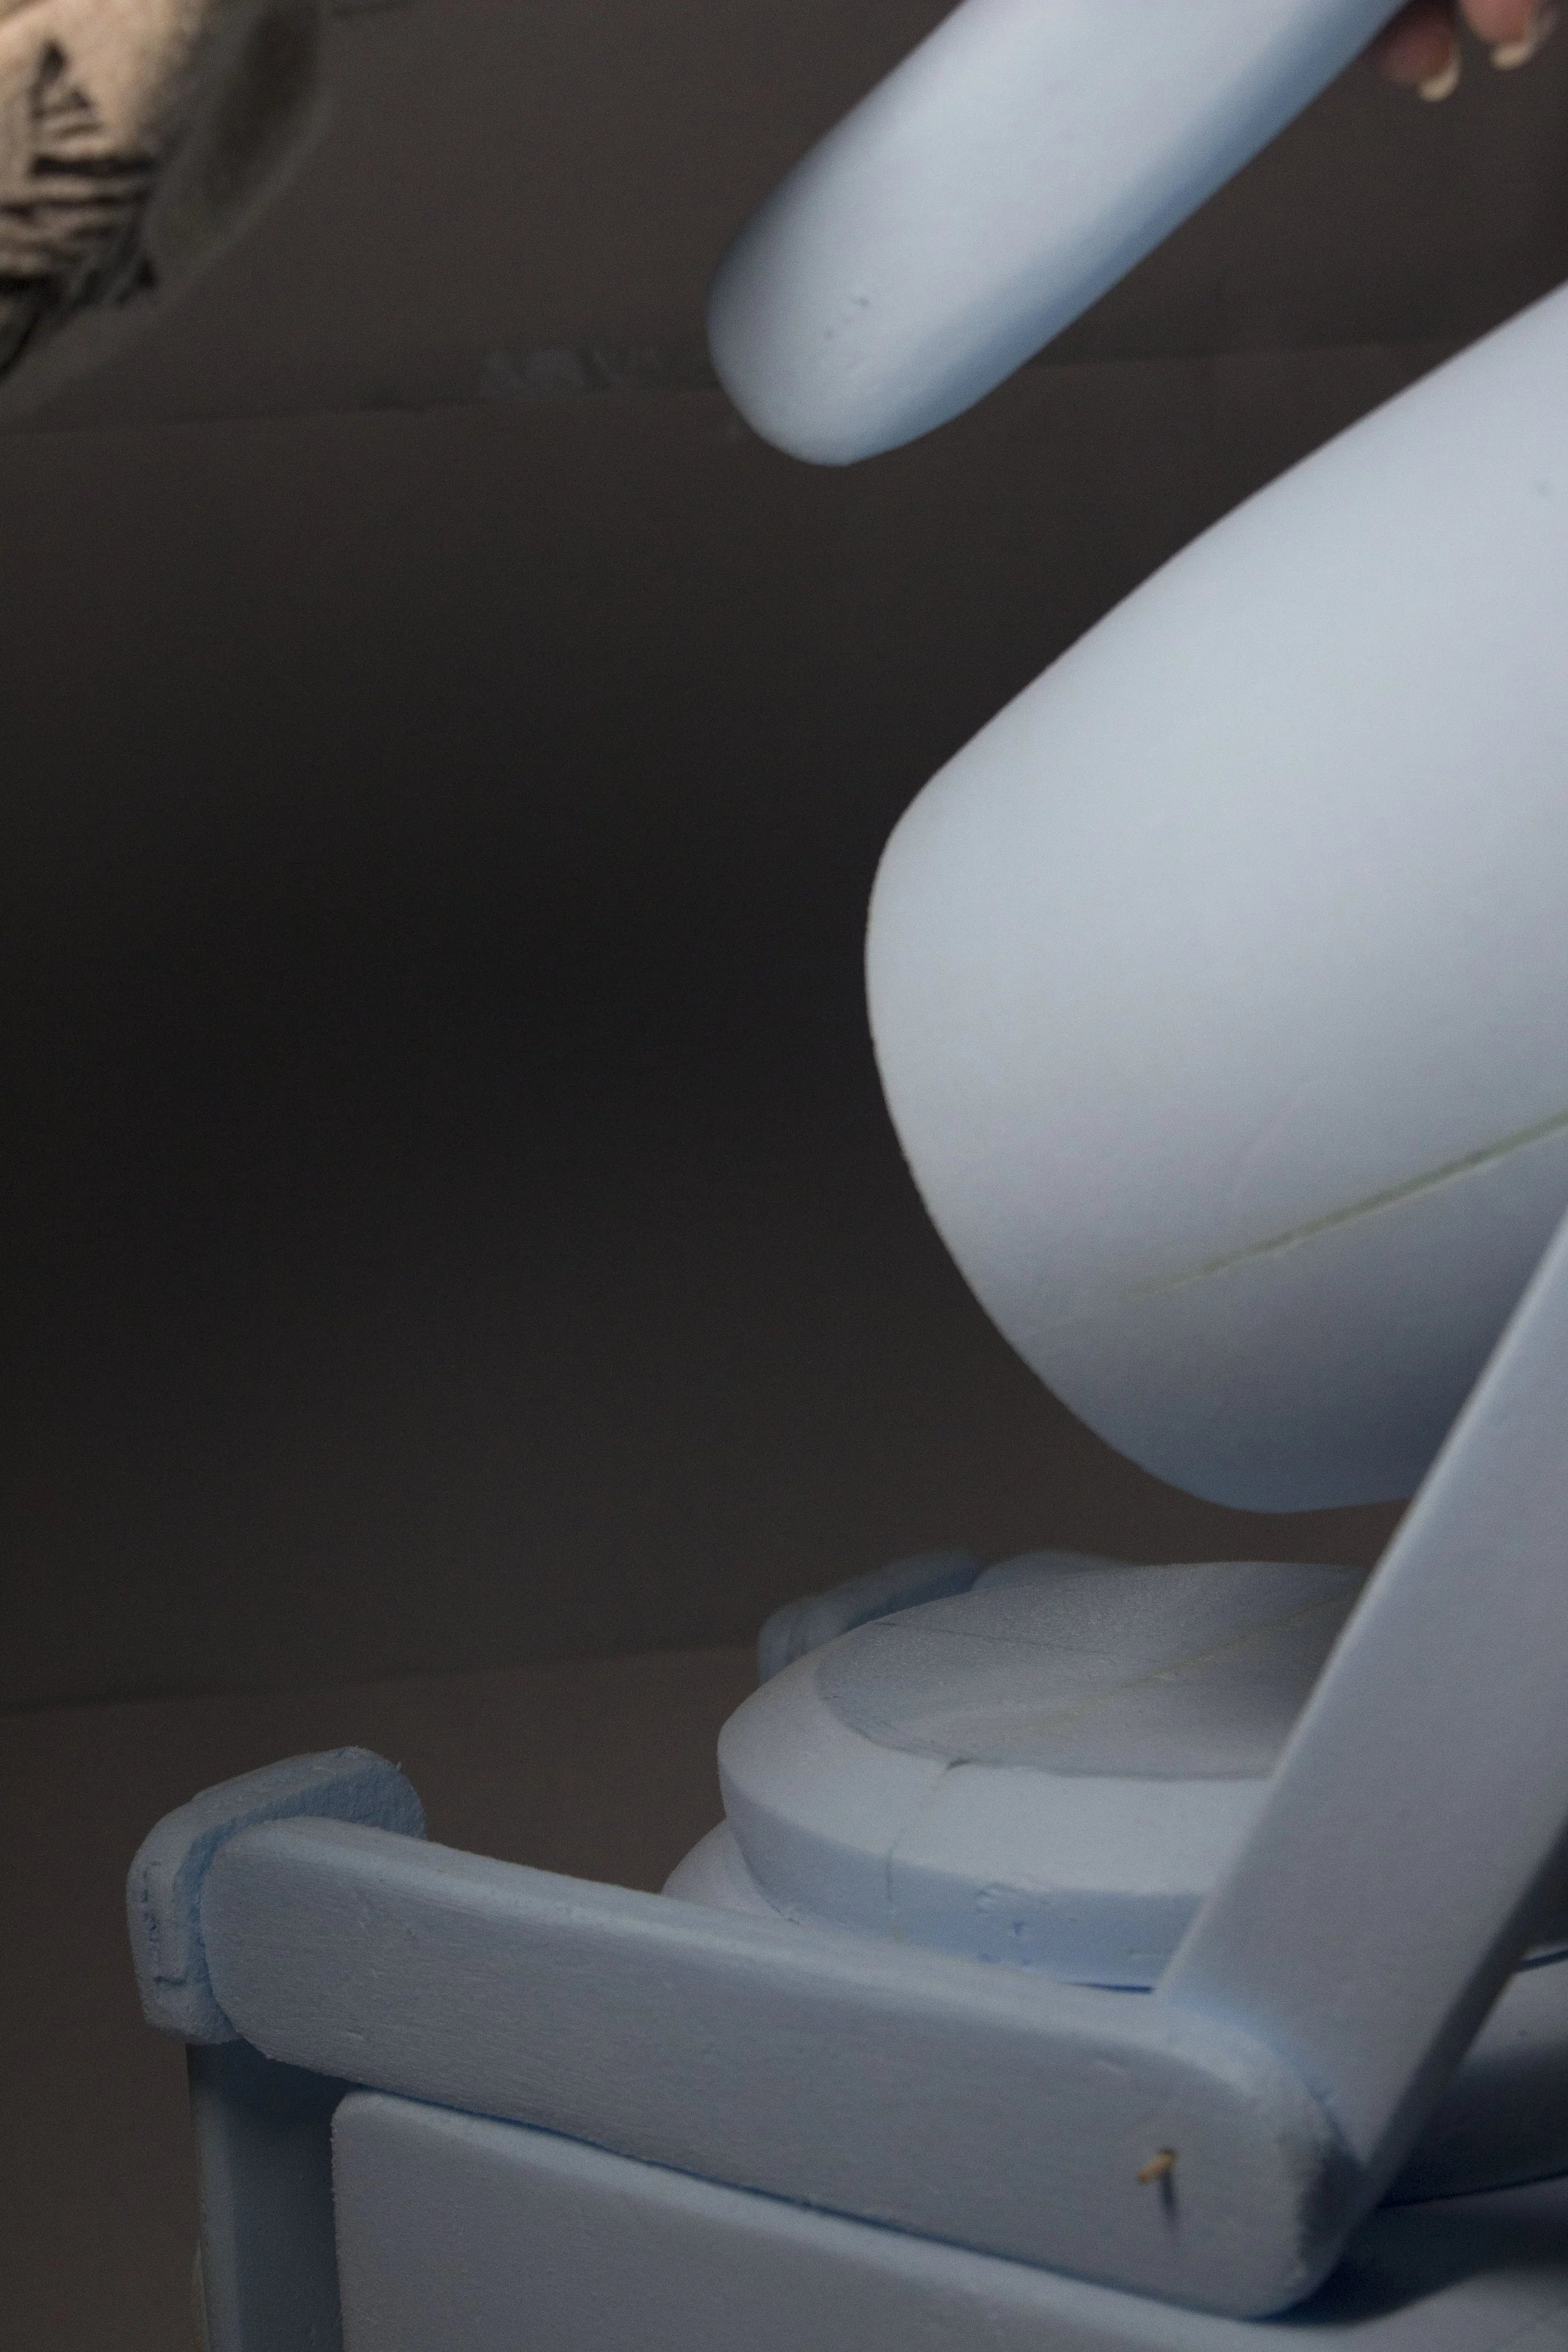
3. The Z enables the whole Blender to tilt and the base is magnetic
4. The blender tilts completely allowing the ingredients to be able to pour


